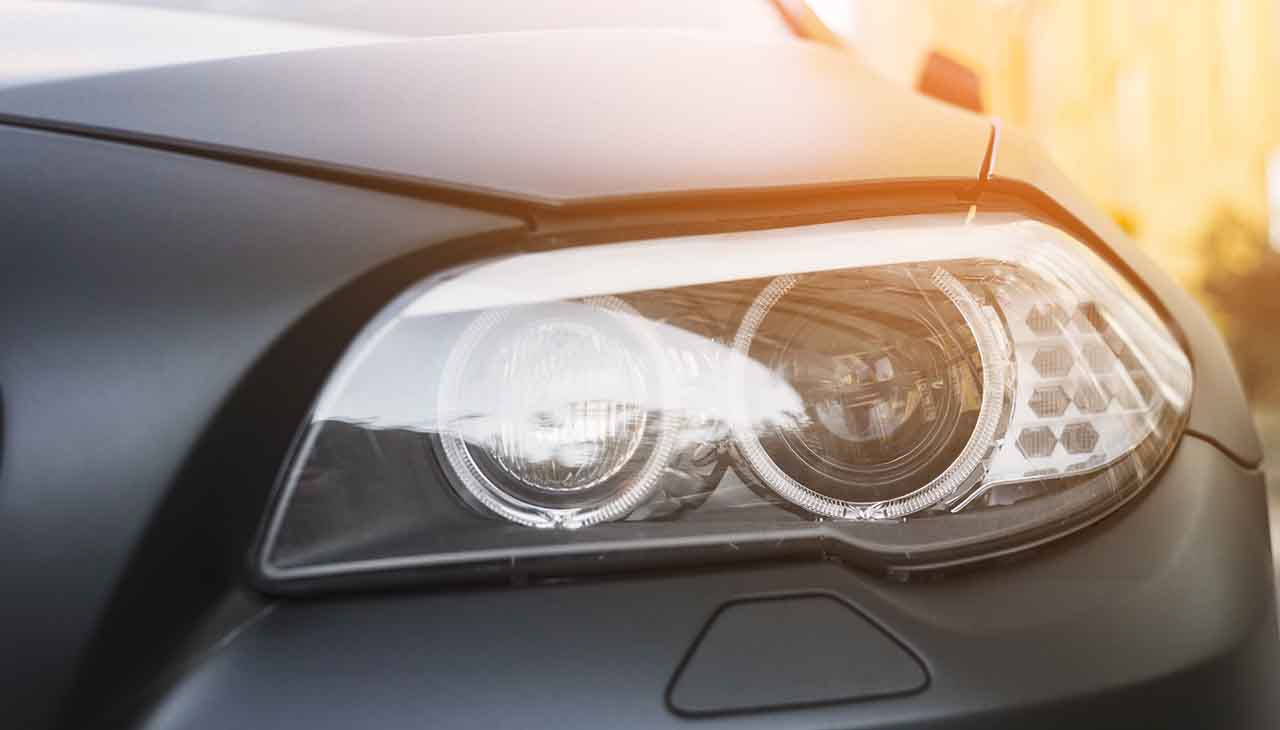
Upgrading to LED headlights can significantly improve your driving experience. It’s a project that many car enthusiasts and DIYers find both rewarding and practical. This guide will walk you through the benefits of LED headlights, the installation process, and how to troubleshoot common issues. Let’s get started!
Why Upgrade to LED Headlights?
Enhanced Visibility and Safety
LED headlights offer superior brightness compared to traditional halogen bulbs. This increased visibility can help you spot obstacles sooner and drive more safely, especially at night or in poor weather conditions.
Energy Efficiency
LED headlights consume less power than their halogen counterparts. This efficiency not only reduces the strain on your vehicle’s electrical system but also leads to longer battery life.
Longevity and Durability
LEDs are known for their extended lifespan. They can last up to 25,000 hours, significantly longer than halogen bulbs. This durability means fewer replacements and less hassle over time.
Understanding LED Headlights
The Technology Behind LEDs
LED stands for Light Emitting Diode. Unlike halogen bulbs, LEDs produce light through electroluminescence. This method is more efficient and produces less heat.
Brightness and Color Temperature
LED headlights offer a range of color temperatures from warm yellow to cool blue. Most drivers prefer a cool white light for its clarity and resemblance to daylight.
Environmental Impact
LEDs are more eco-friendly. They use less energy and have a smaller carbon footprint compared to other types of lighting.
Factors to Consider Before Installation
Compatibility
Not all vehicles are compatible with LED headlights. Check your vehicle’s manual or consult a professional to ensure compatibility.
Legal Considerations
Some regions have specific laws regarding headlight brightness and color. Make sure your new LED headlights comply with local regulations.
Plug-and-Play vs. Custom Installations
Plug-and-play kits are straightforward and require minimal modifications. Custom installations, however, might offer better performance but require more expertise and tools.
Tools and Materials Needed
Basic Tools
You’ll need a screwdriver set, pliers, and a socket wrench. These tools will help you remove the old headlights and install the new ones.
Specialty Tools
Depending on your vehicle, you might need specialty tools like a headlight leveling system or a voltage tester.
Safety Equipment
Always wear gloves and safety glasses. Working with electrical components can be dangerous, so take necessary precautions.
Step-by-Step Installation Guide
Preparing Your Vehicle
- Park Safely: Ensure your vehicle is parked on a flat surface and the engine is off.
- Disconnect the Battery: This prevents any electrical shorts or shocks during the installation process.
- Remove the Old Headlights: Using your screwdriver set, carefully remove the old headlight bulbs.
Installing the New LED Headlights
- Install the LED Bulbs:
Insert the new LED bulbs into the headlight housing. Make sure they are securely in place.
- Connect the Wiring:
Connect the wiring harness to the new bulbs. Ensure all connections are secure and insulated.
- Test the Headlights:
Reconnect the battery and test the headlights to make sure they are working properly.
Final Adjustments
- Adjust the Headlight Alignment:
Use a headlight leveling system to ensure your lights are properly aligned.
- Secure Everything:
Double-check all screws and connections to ensure everything is secure.
Troubleshooting Common Issues
Flickering Lights
If your new LED headlights flicker, it could be due to a loose connection or an incompatible bulb. Check all connections and consult your vehicle’s manual for compatibility issues.
Dim Lights
If your LED headlights appear dim, it could be due to a low voltage issue. Use a voltage tester to check the power supply and ensure it meets the requirements of your LED bulbs.
Headlight Alignment
Misaligned headlights can cause poor visibility and glare for other drivers. Use the headlight leveling system to adjust the aim of your lights.
Post-Installation Tips
Regular Maintenance
Keep your headlights clean and check them regularly for any signs of wear or damage. Dirt and debris can reduce the effectiveness of your LED headlights.
Adjusting for Seasonal Changes
Seasonal changes can affect the performance of your headlights. Make adjustments as needed to ensure optimal visibility during different weather conditions.
Join the Community
Share your installation experience with other car enthusiasts. Join online forums and social media groups to exchange tips and advice.
Summary
Upgrading to LED headlights offers numerous benefits, from better visibility and energy efficiency to longer lifespan and durability. By following this guide, you’ll be able to successfully install your new LED headlights and enjoy a safer, more enjoyable driving experience. Don’t forget to share your experience and join us in our community of car enthusiasts!
Learn More
If you’re ready to explore more about car upgrades and DIY projects, subscribe to our blog and follow us on social media. Stay tuned for more tips and guides!
